
How to Build a document site by Vuepress
Before the beginning, I’d like to answer a question: Why you write this tutorial?
Yeah, there’s too many others article like this, but most of them assume that you have already learned Vue.js and had some knowledge of website building and deploying. So that’s why I make this article: for people who don’t know what is vue.js and never had a website. Anyway, it’s not a zero-basic tutorial, at least, you should know about some things like what is GitHub? why should I write a document?
Environments
This tutorial based on Windows 10 platform, and all the examples are under the windows-style.
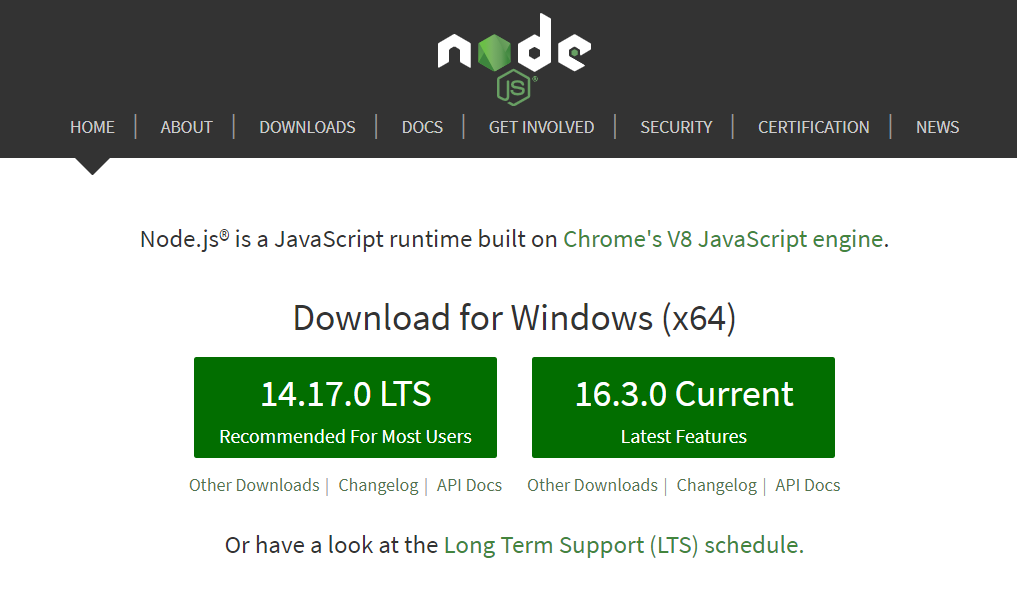
Node.Js
Access the official website of Node.js, as you can see, there are 2 green buttons, we should click the left one: LTS version of Node.js
When it finished, you can see a .msi file like this one:
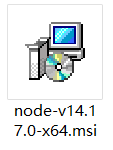
Double click to open it, and keep clicking the Next button until the install wizard shows a Finish button. Since then, we installed node.js.
Yarn
Although npm(node package manager) provides all the features, according to the document of the vuepress, yarn would be a better choice than npm.
Let’s access yarn installation site, expand the Alternatives section:
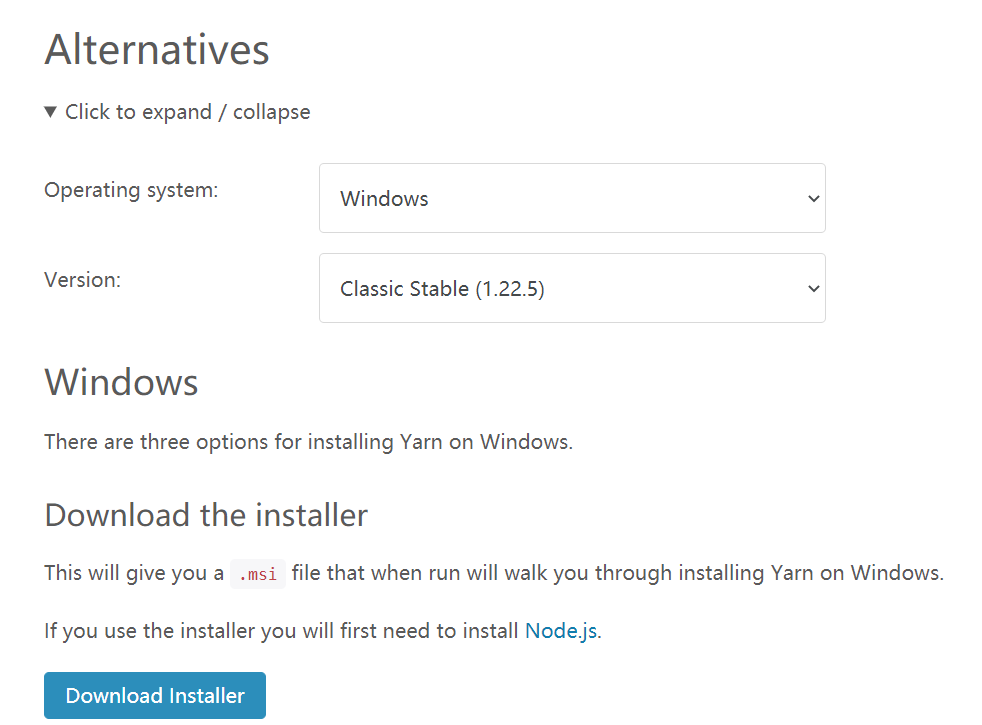
Click the Download Installer Button, after the progress running over, you can get a .msi file, install it like node.js installer.
Git (Optional)
This step is optional, but if you do this, your work will be much easier.
Access git official website, you can see the interface like this:
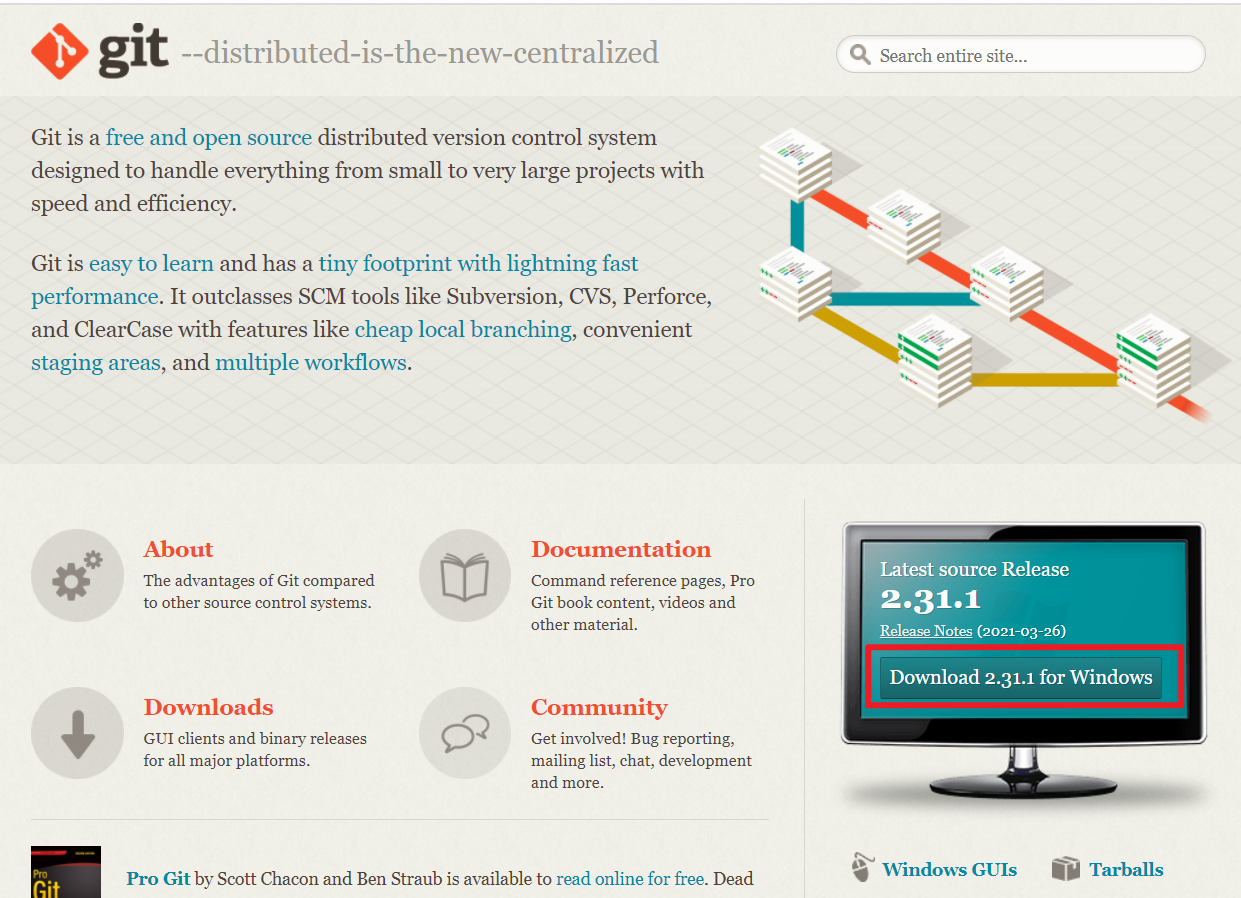
Click the button that I marked with a red box, the download will be starting, after then, you will get a git installer executable file, start it and just keep the default configuration.
If install succeeds, you will see 2 git menu in any context menu of windows explorer:
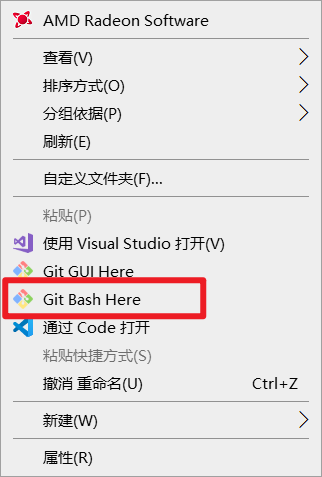
As you can see, I marked Git Bash, which is the command terminal we need to instead of windows cmd or Powershell.
Setup Vuepress
Now, we had node.js and yarn, we are ready to start building a vuepress site!
Create a Github repo for deploying Vuepress
I won’t show how to create a GitHub repo, but I would notice you are:
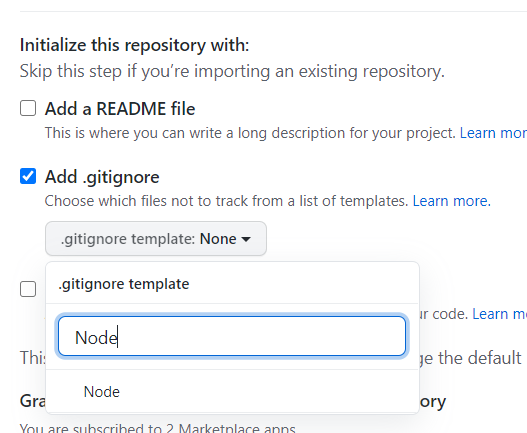
You should choose the .gitignore template to Node, it will be more convenient for you.
Clone the repo that we just created to the local disk, enter the directory that you contains your repo, and open git bash for it.
Install Vuepress
Before work starts, input the command below:
yarn init -yThis command means we created a node package with the default configuration. Then we can add vuepress to dependencies of our package:
yarn add -D vuepressThis command needs about 2 minutes to complete, keep your patience.
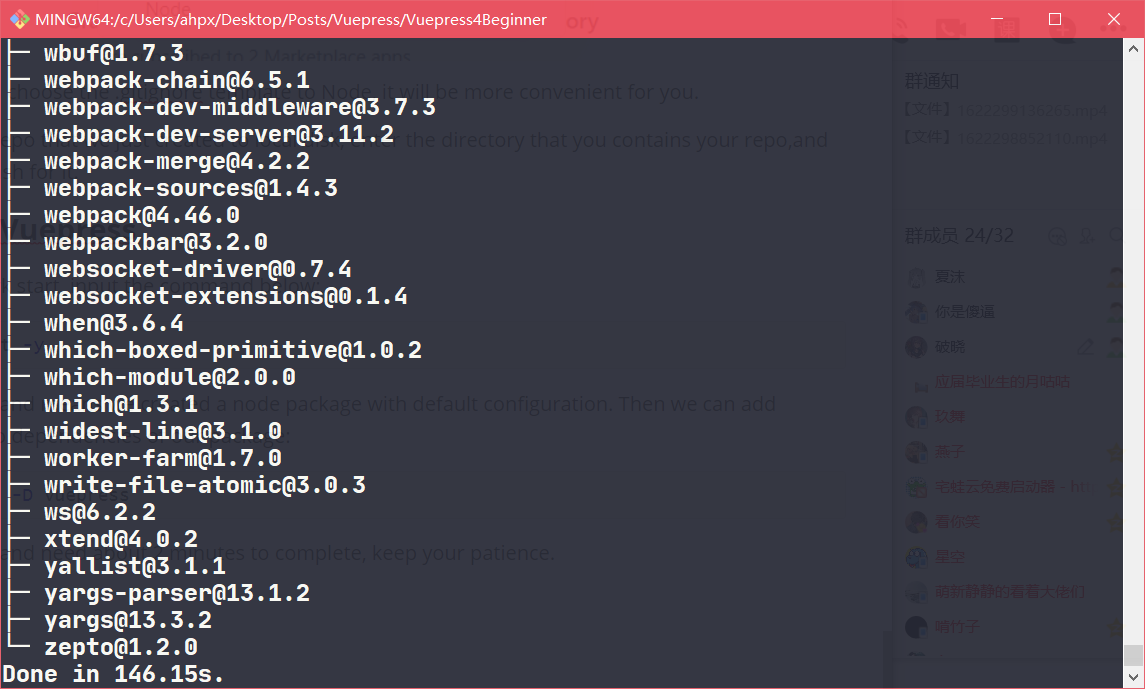
Since then, we installed the vuepress local.
Basic configuration for vuepress
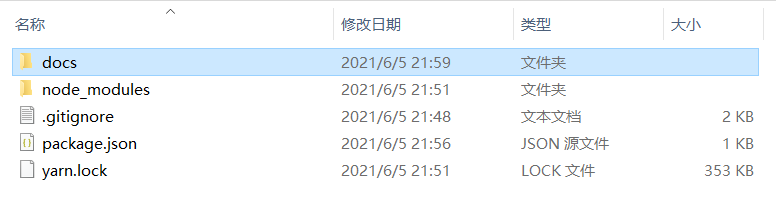
After you installed the vuepress, the structure of your local files should be like this:
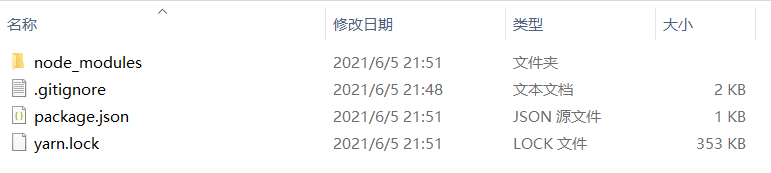
Open the package.json, add these lines in this JSON file and append .temp in the .gitignore file
"scripts": {
	"dev": "vuepress dev docs --temp .temp",
	"build": "vuepress build docs"
}
This step is also optional, but if you do this, your progress will be more convenient. In fact, you don’t even need to know what these commands used for, just follow the steps.
Now we created a folder that must named docs,
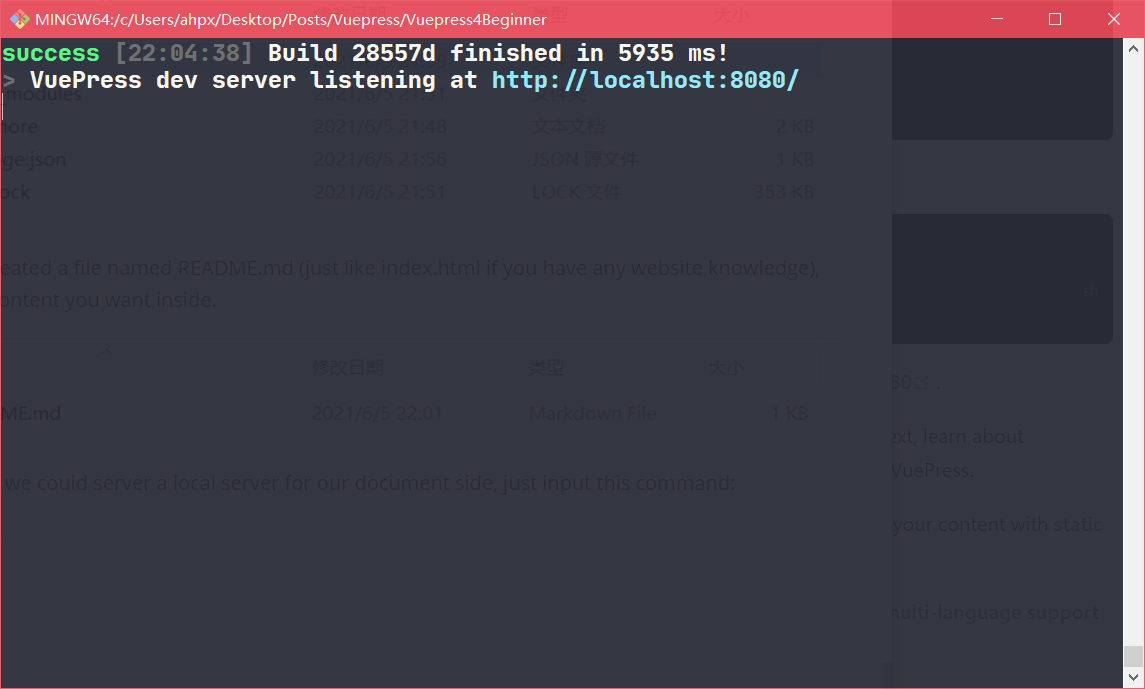
Then we created a file named README.md (just like index.html if you have any website knowledge), write any content you want inside.

Since here, we could serve a local server for our document side, just input this command:
yarn devWhen this interface displayed, your local document server has been created.
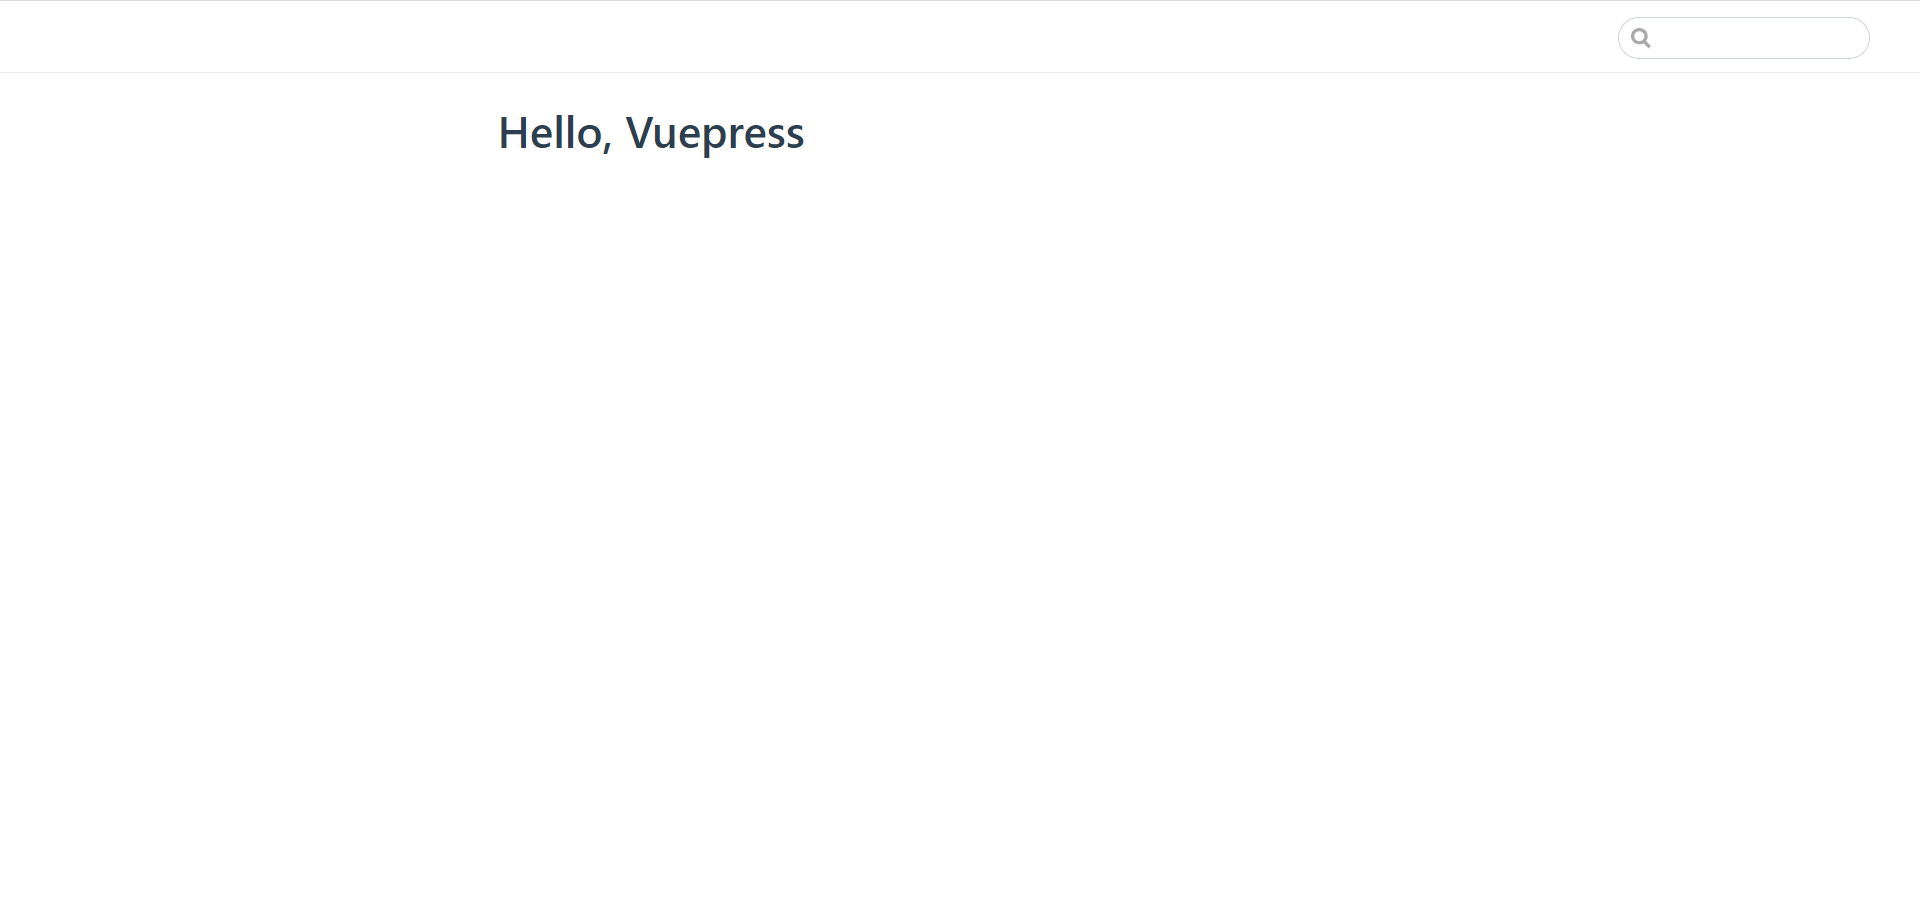
Access http://localhost:8080, you can see an empty vuepress side now:
config.js
Create a folder named .vuepress in /doc:

Create a javacript file in /.vuepress:

Add these lines inside:
module.exports = {
  title: 'Hello VuePress',
  description: 'Just playing around',
  base: "/Vuepress4Beginner/"
}
There’s a point you should be noticed, the base key should appear when you trying to deploy your document site on a sub-directory like http://www.xxxx.com/xxxx, the slash symbol should be beginning, and the end.
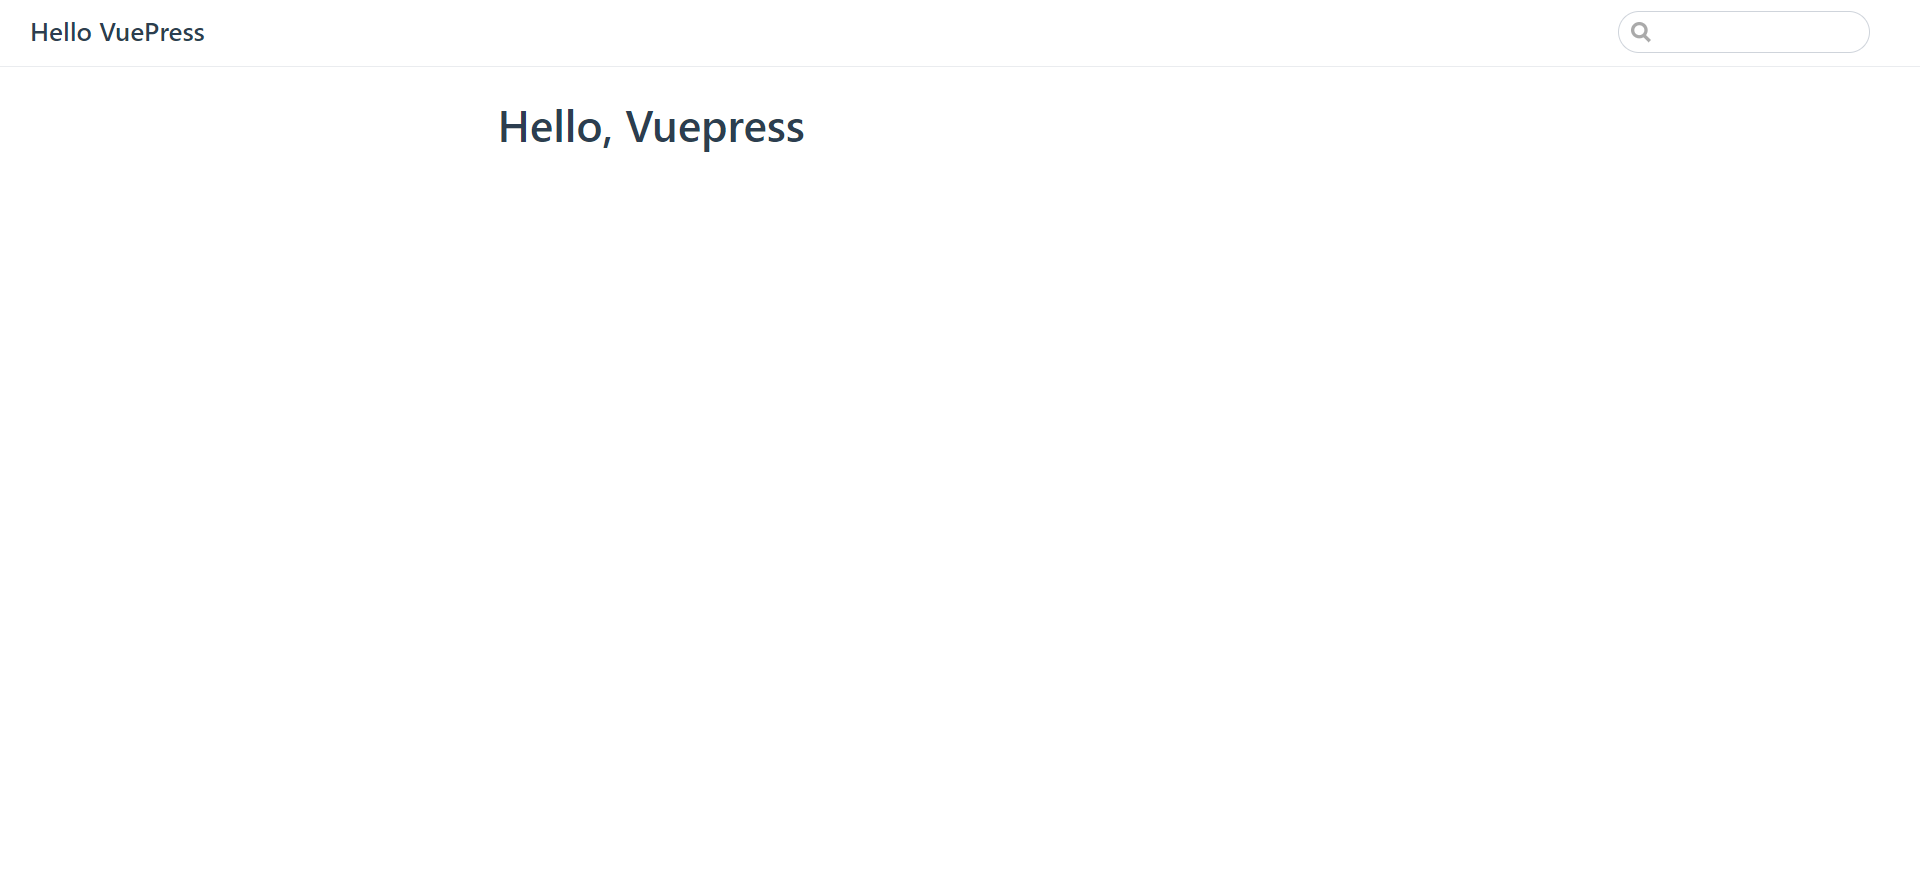
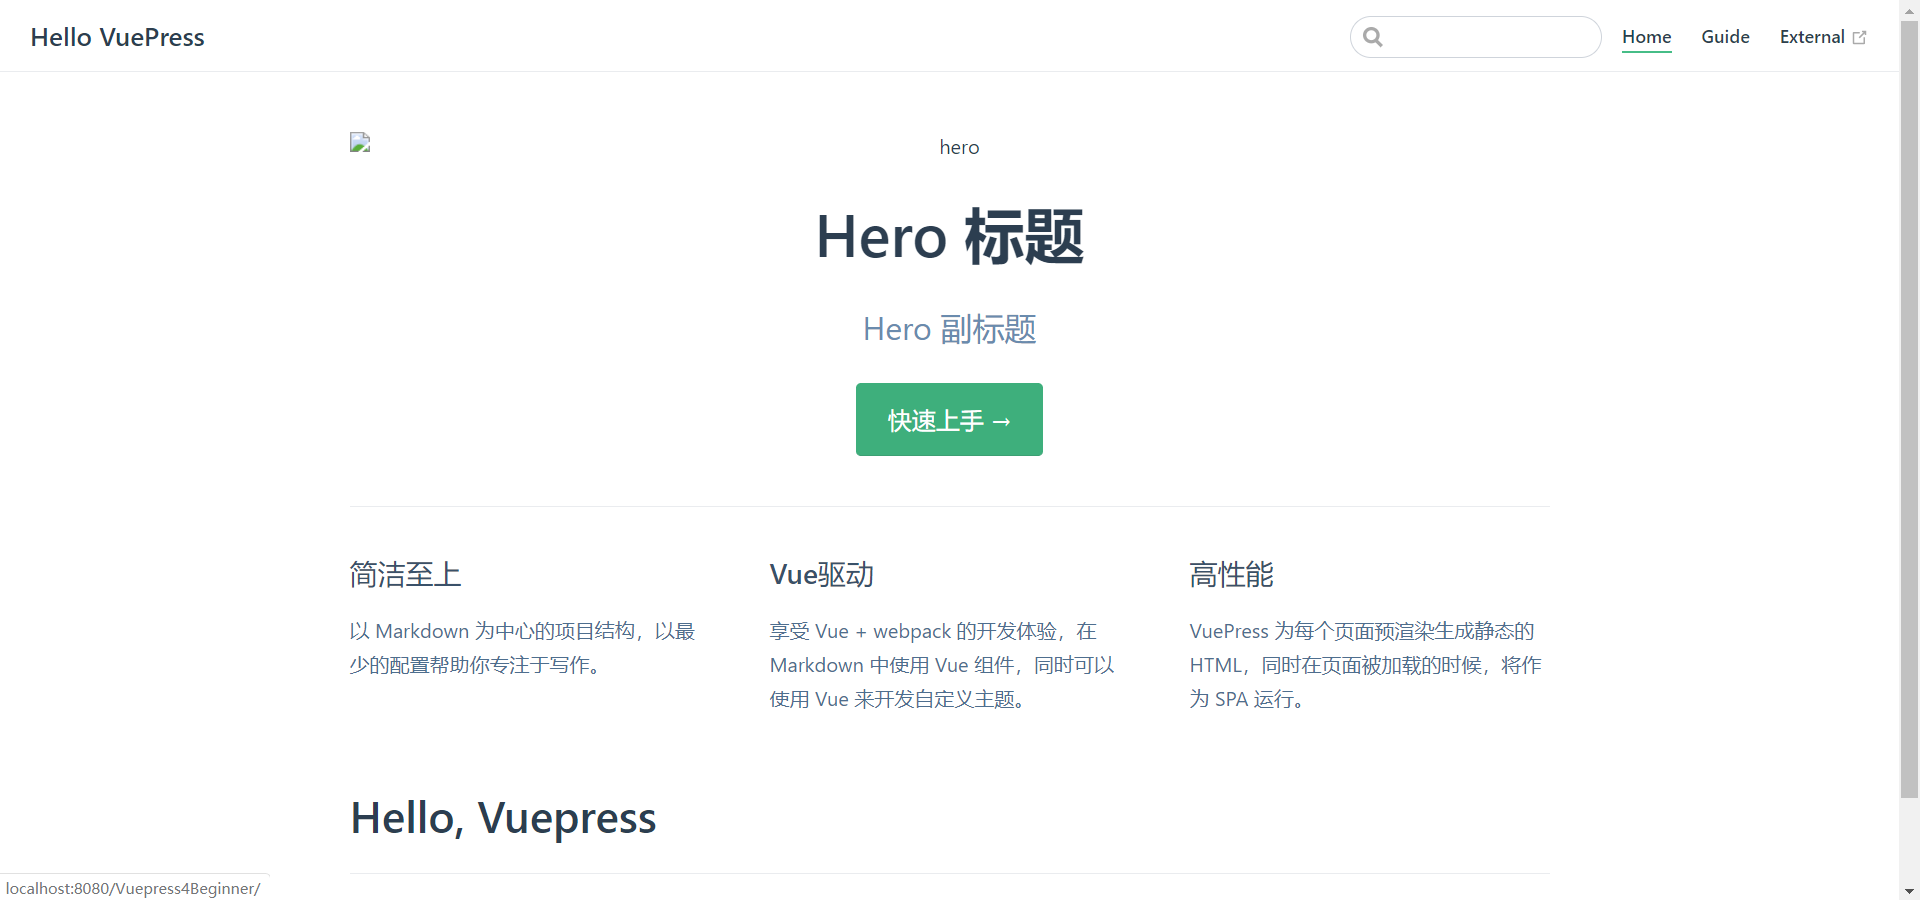
Restart your local server, you will see the host had appended your base value

And you will see the effect of the config.js, a title element displayed in the top-left corner
root README.md
Add these lines at the top of root README.md:
---
home: true
herImage: /hero.png
heroText: Hero 标题
tagline: Hero 副标题
actionText: 快速上手 →
actionLink: /guide/
features:
- title: 简洁至上
  details: 以 Markdown 为中心的项目结构,以最少的配置帮助你专注于写作。
- title: Vue驱动
  details: 享受 Vue + webpack 的开发体验,在 Markdown 中使用 Vue 组件,同时可以使用 Vue 来开发自定义主题。
- title: 高性能
  details: VuePress 为每个页面预渲染生成静态的 HTML,同时在页面被加载的时候,将作为 SPA 运行。
footer: MIT Licensed | Copyright © 2018-present Evan You
---
You can change the element content as you want, the hereImage key should be removed if you don’t need it. And if you need a big logo on your document home page, you should know some basic knowledge about vuepress asset.
The content below the YAML font matter will be display as normal markdown content.
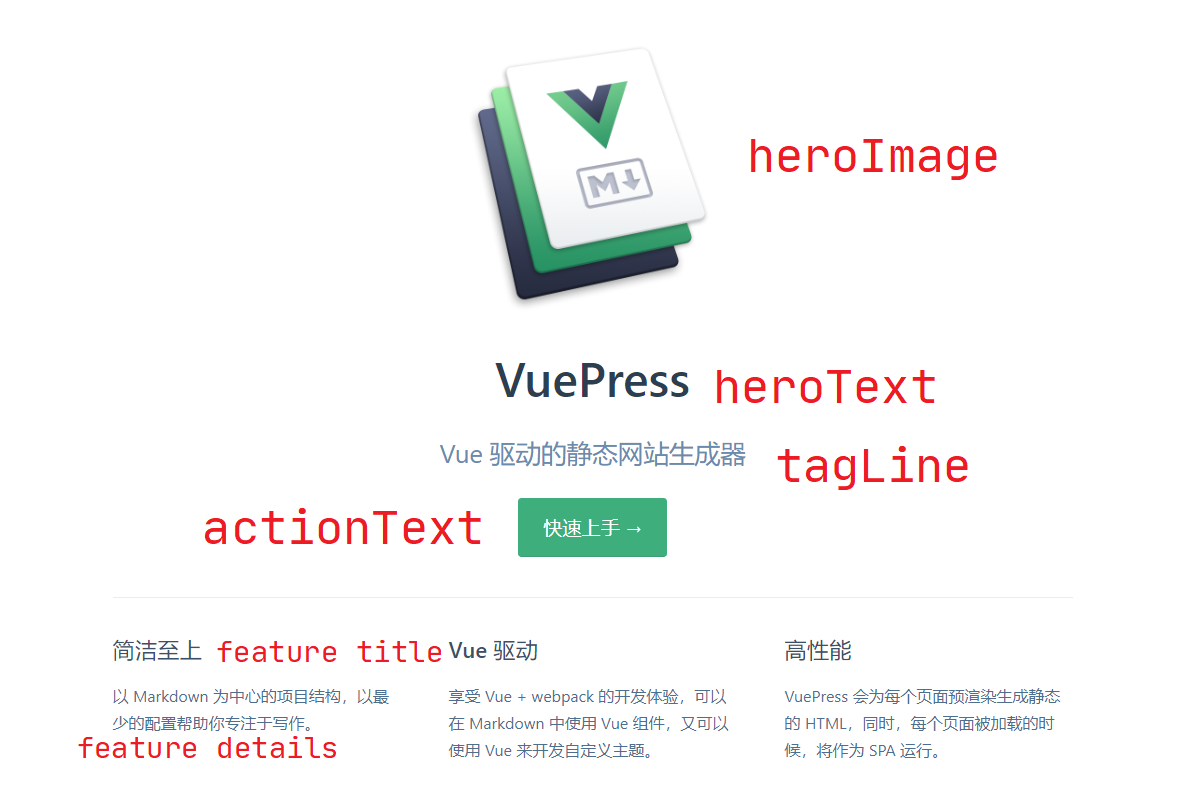
Now, I’ll tell you what is ever YAML font matter key-value pair used for:
- home: this page is used for the home page or not
- heroImage: the main logo displayed in the center of the home page
- heroText: the main title displayed in the center of the home page
- tagline: the subtitle under the heroText
- actionText: the text for the central button
- actionLink: the jump target for central button
- features: some feature under the central button
- title: feature title
- details: feature description
- footer: the text display in the footer of the site
Add navigate links
Open config.js, and add these lines:
themeConfig: {
  nav: [
    { text: 'Home', link: '/' },
    { text: 'Guide', link: '/guide/' },
    { text: 'External', link: 'https://google.com' },
  ]
}
As you can see, there’s an array named nav, you can add its member like:
{ text: 'Home', link: '/' }- text: the text display in navigate bar
- link: the link for navigating, you can use a relative or absolute URL
If you would like to know about the navigation bar, you can visit navbar links in vuepress document.
Start writing
After all of these configurations, now you can start to write documents via markdown.
Create a folder named guide in /docs:

Create a README.me in /docs/guide

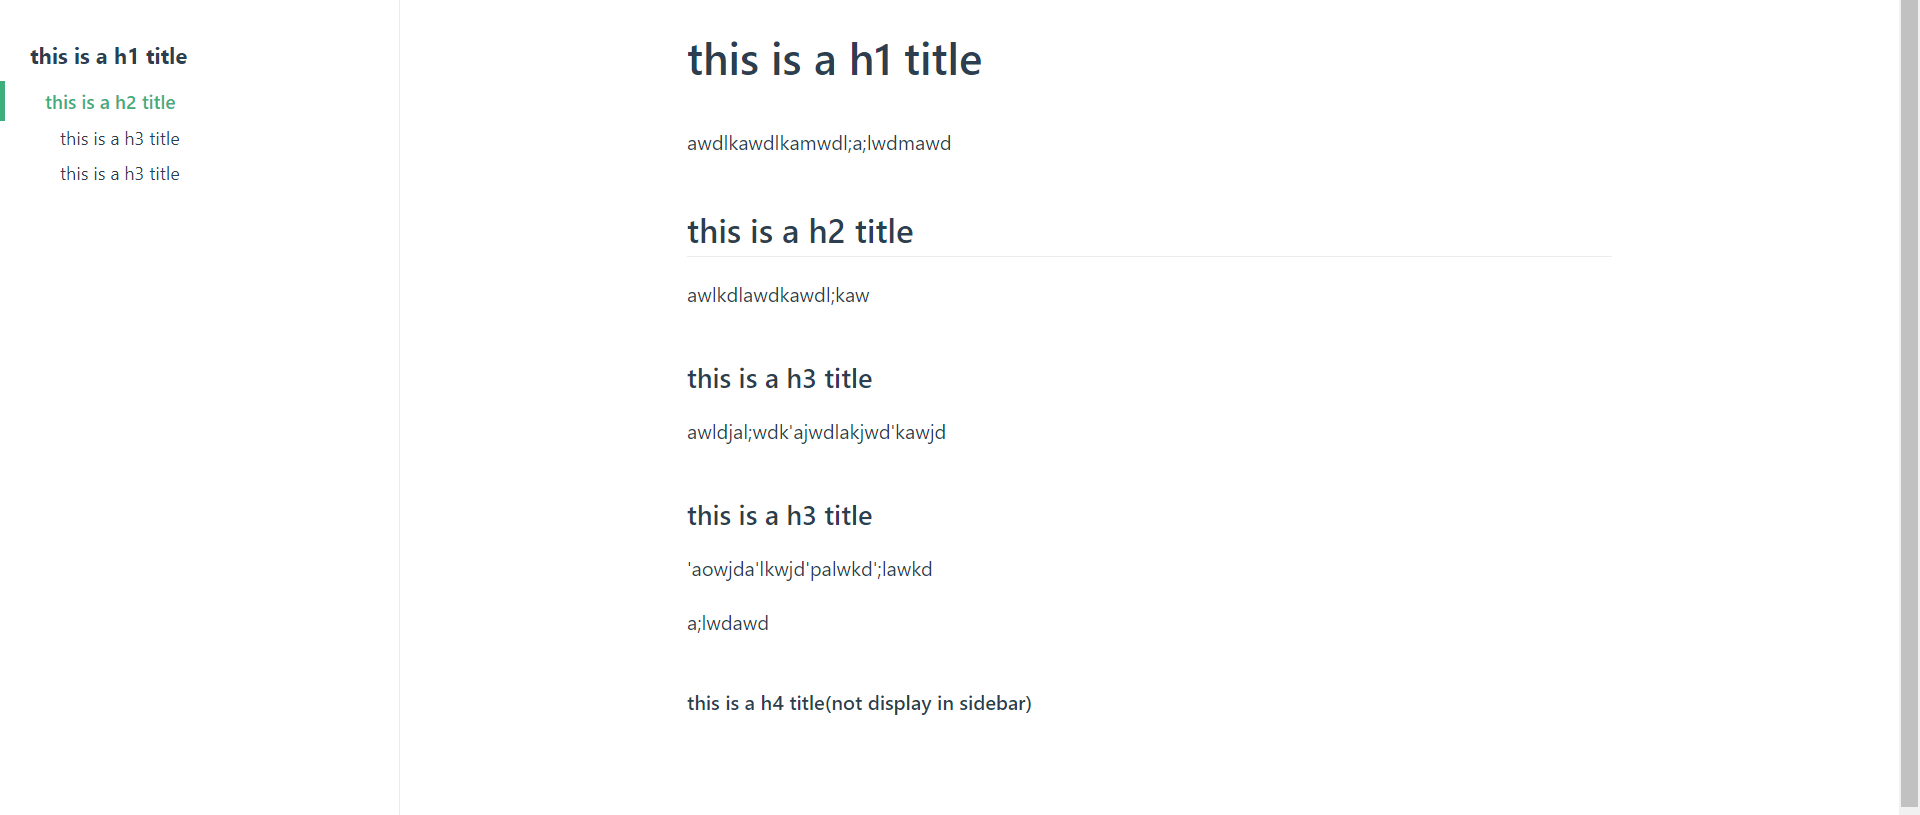
Add this YAML font matter at the top of this README.md:
---
sidebar: auto
---
Enjoy!
Summary
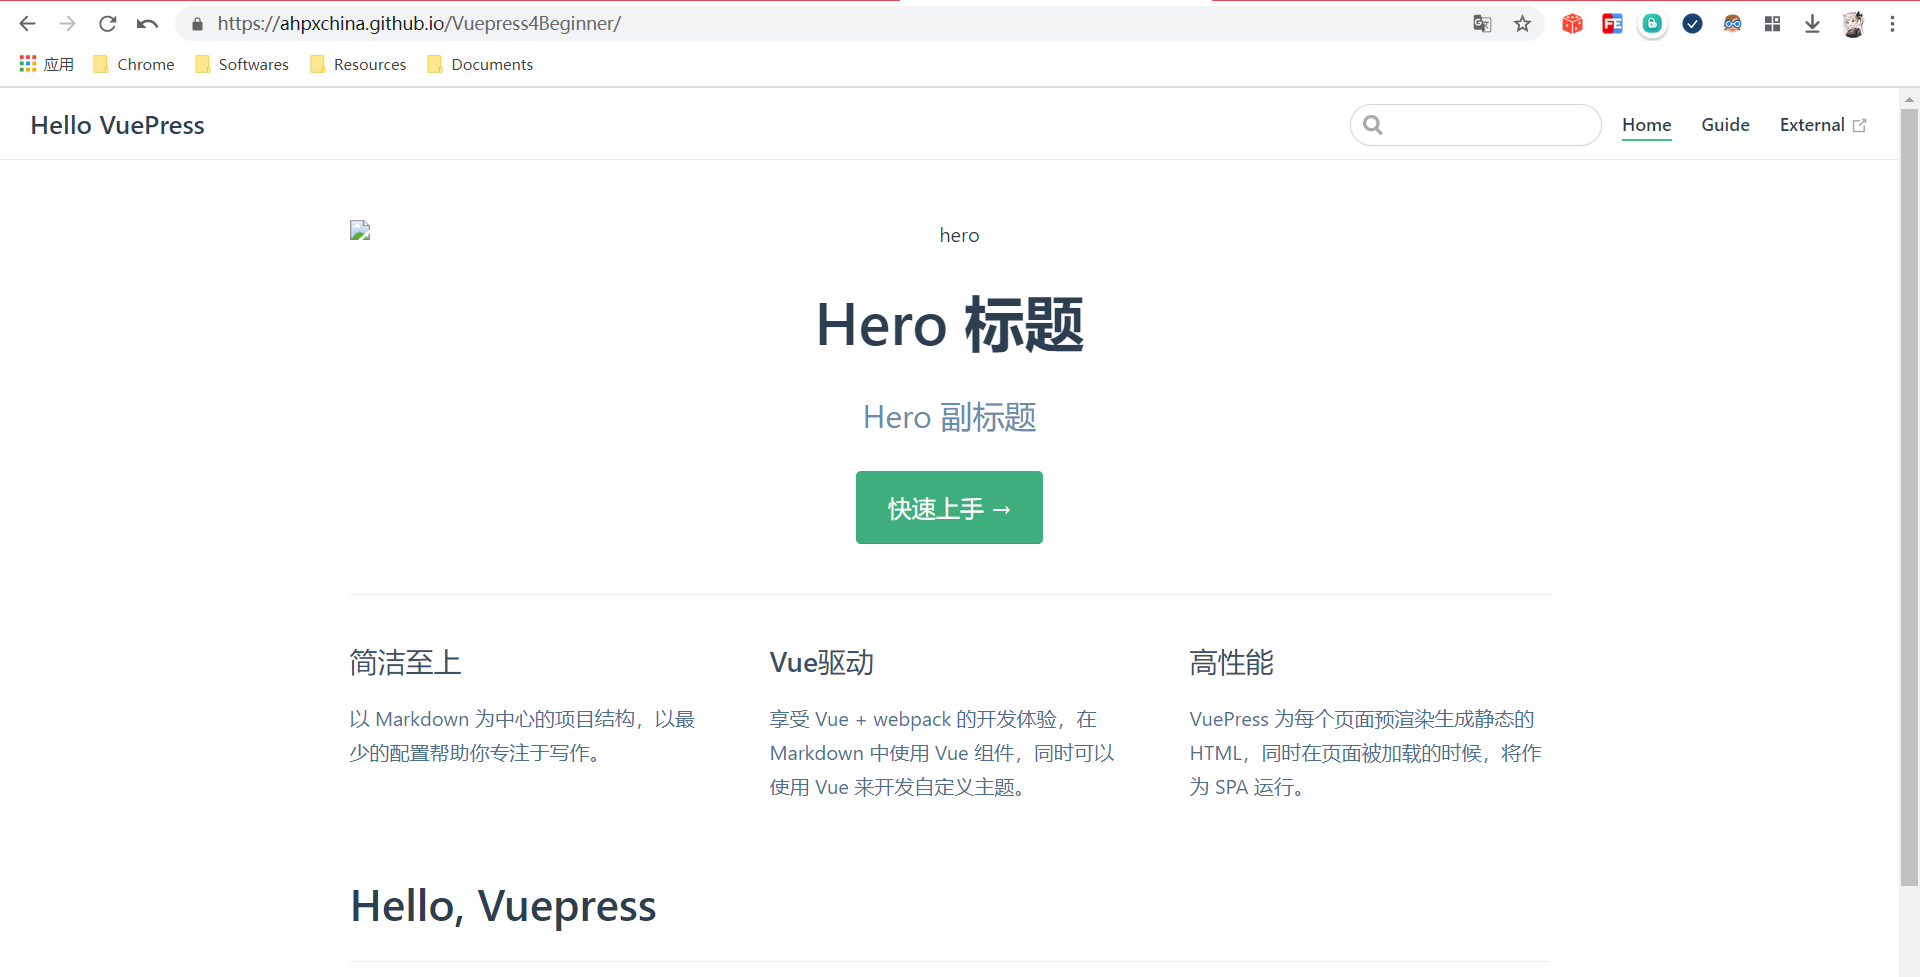
This is how the document site looks like after the above configurations,
I’ll list some point that you maybe didn’t know:
- REAME.md equals to index.html in website building
- The local file structure of our example:
- .temp
- docs
- .vuepress
- config.js
- guide
- README.md
- README.md
- .vuepress
- node_modules
- .gitignore
- package.json
- yarn.lock
Deploy
After all the work above, now we can deploy our document site to GitHub pages, maybe you would like to try another deployment, so you can check out vuepress document.
Create deploy script
Create a .sh file named deploy.sh in the root directory
#!/usr/bin/env sh

# abort on errors
set -e

# build
npm run build

# navigate into the build output directory
cd docs/.vuepress/dist

# if you are deploying to a custom domain
# echo 'www.example.com' > CNAME

git init
git add -A
git commit -m 'deploy'

# if you are deploying to https://<USERNAME>.github.io
# git push -f git@github.com:<USERNAME>/<USERNAME>.github.io.git master

# if you are deploying to https://<USERNAME>.github.io/<REPO>
# git push -f git@github.com:<USERNAME>/<REPO>.git master:gh-pages

cd -
I’d like to recommend that you shouldn’t just push the static pages to your master branch, your master branch should be storage your development environment. So you can just push them to another branch.
Since then, you should add this line in the config.js:
"deploy": "bash deploy.sh"And then config.js should look like:
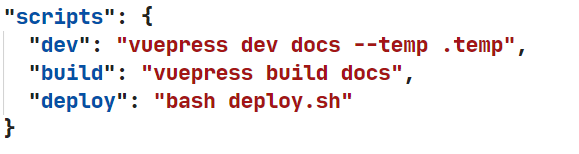
As you can see, we are using the windows operating system, but there’s a bash command that’s didn’t exist in windows. How to solve this? The answer is: we don’t even need to solve because we are using git bash. That’s why I recommended you to choose git bash but not the windows cmd or Powershell.
Now, just run
yarn deployThen, turn to GitHub, open the repo for hosting the vuepress document, turn to the Setting page:
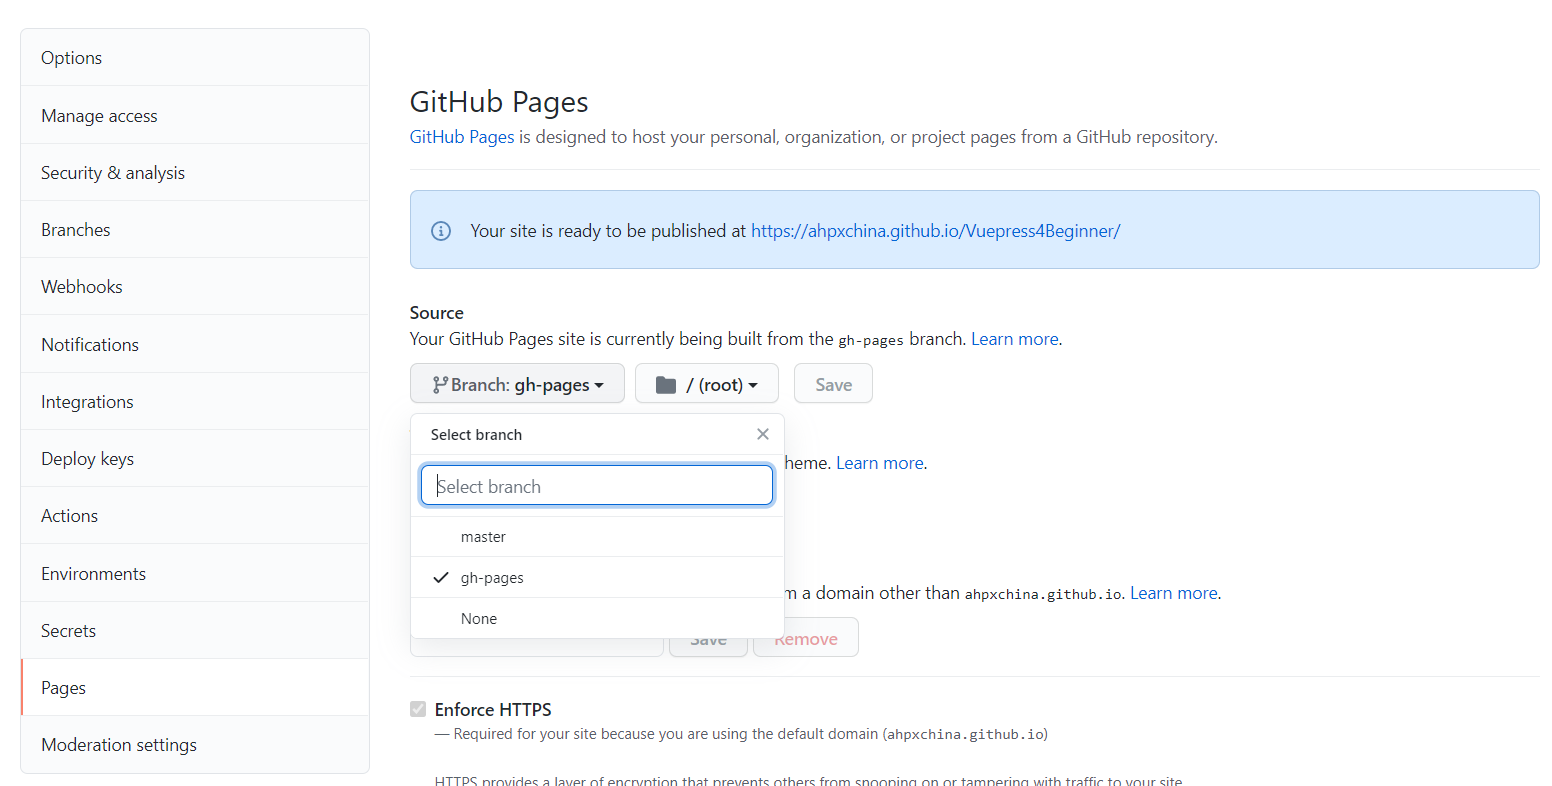
And go to the Pages section, set the source branch to gh:pages, click save. Just wait for moments, then access your page.
Congratulations! You’ve done all the work!